Registering your Carrier HVAC system isn’t complicated, but it does require a few key pieces of information. Think of it as filling out a form at the doctor’s office—bring the right details, and it’s over in no time. Many homeowners either forget to register or don’t know what info to prep ahead of time, so let’s break it down together. I’ll walk you through exactly what you need, a few common pitfalls, and why those seemingly random numbers and codes actually matter.
Why Should You Register Your Carrier HVAC System?
Here’s the thing: Registration is more than just red tape. When you register your Carrier HVAC system, you’re making sure you get the best possible warranty coverage. In most cases, registered products get longer or more comprehensive warranties compared to unregistered ones. It’s like the difference between getting basic cable and the whole streaming package—one protects you better than the other.
Also, if you ever need troubleshooting, a code reset, or support for syncing your system with remotes or smart home tech, Carrier’s team can help much faster if all your info is already on file. And if there are ever recalls or important updates, you’ll be in the loop. Honestly, having your system registered is a small step with a big payoff. It’s quick, usually free, and can save you headaches later if something goes wrong.
Plus, let’s not forget peace of mind. Registering means someone else has that record—not just dusty paperwork tucked in your junk drawer. If you move or lose your user manual, Carrier’s got your back with the details.
Where to Find Carrier HVAC System Registration Forms
You might be wondering, “So, where do I actually register my Carrier HVAC system?” Most of the time, it’s all online. Carrier has a dedicated registration page on their website, and they make it pretty straightforward. You’ll just need to:
- Enter your product’s information (we’ll get specific soon)
- Fill in your own contact details
- List your installer or contractor, if you used one
- Confirm everything and hit submit—done!
If you’d rather go old-school, Carrier customer support can help register your system by phone. Just know that online forms are typically faster and give you instant confirmation.
A pro tip: Don’t wait! Many Carrier HVAC models require registration within a certain period after purchase (often 60–90 days) to get enhanced warranty terms. If you miss the window, you could end up with a shorter or limited warranty. Set a reminder or knock it out the day your system’s installed.
Essential Information Needed for Carrier HVAC Registration
Okay, let’s get to the good stuff—what do you actually need to gather before you start? Here’s a handy list of what Carrier typically asks for:
- Product Serial Number: The unique code stamped on your HVAC system’s nameplate. This code is like your system’s “birth certificate.”
- Model Number: This tells Carrier exactly which type of system you have—think of it as the make and model of a car.
- Date of Installation: Not just the purchase date—the day your Carrier system was actually installed and started up in your home.
- Your Contact Information: Name, address, phone number, and email. If you move, this info helps with transfers or support down the line.
- Contractor/Installer Details: If a professional installed your system, Carrier may ask for their company name and contact info for warranty verification.
That’s the core list. Some models, especially newer smart systems, may also ask for your remote sync code, Wi-Fi pairing info, or other setup details if you’re registering extra features. Always check your product’s registration card or support page for any extras.
How to Locate Serial and Model Numbers on Your Carrier HVAC
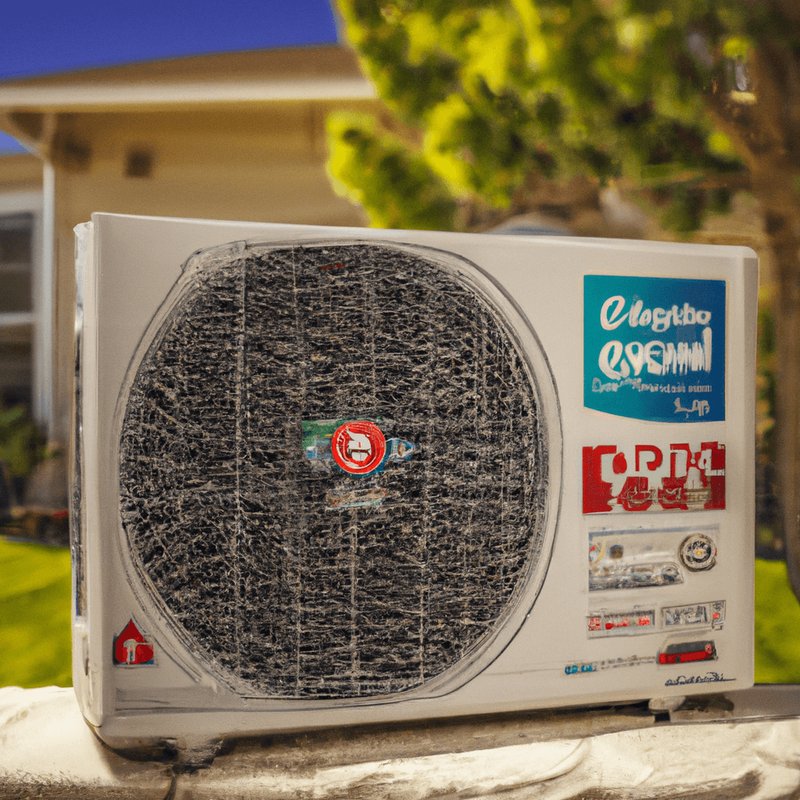
Sounds simple, but here’s where many people get stuck. The serial number and model number aren’t always front and center like a barcode on a soda can. Usually, you’ll find them on a metal plate or sticker attached to the outside of your furnace, air handler, or condenser unit.
Let me explain with an example. On an outdoor Carrier air conditioner, the information plate is typically on the side of the unit, near where the copper lines connect. For a furnace, check inside the access panel (the door that swings open to reveal the burners and circuit board). The serial number is usually a long string of letters and numbers—don’t worry, it looks like gibberish, but it’s what Carrier needs.
If you’re struggling to find your system’s numbers, grab a flashlight and your phone’s camera. Sometimes crouching down, snapping a pic, and zooming in is the easiest way to read those tiny, scratched labels!
Once you’ve found the model and serial numbers, jot them down or save a photo for your records. Double-check for typos—entering the wrong code during registration can slow things down if you ever need service or support.
The Role of Installers and Dealers in HVAC Registration
Here’s a detail many first-time owners miss: Who actually registers the system? If a licensed professional installed your Carrier HVAC, they might register it for you as part of their service. But not all contractors do this automatically, so always double-check.
If your installer promises to handle the registration, ask for proof—an email confirmation or a receipt from Carrier is best. If you’re a DIYer or you bought the system online, you’ll need to register it yourself. Either way, you’ll want your installer’s details handy, because Carrier may ask for their company name or installer code to verify everything.
Honestly, taking five minutes to confirm your system is registered—and the info is accurate—can mean the difference between a full warranty and unnecessary repair bills. If you’re ever unsure, contact Carrier support and ask them to look up your registration status.
What If You Have a Smart or Connected Carrier HVAC System?
Carrier’s newer HVAC systems can sync with remotes, reset codes, or even link up with home automation platforms. Registering these smart models is a bit like pairing a new phone to your Wi-Fi—there’s an extra step or two, but nothing wild.
During registration, you might need:
- Remote or device codes: For systems with wireless remotes, smart thermostats, or wall panels, you might have to enter a sync code or ID found on your remote or controller.
- Wi-Fi information: If your system uses Wi-Fi to offer app control, you may be prompted to finish registration through Carrier’s app or online portal.
- Battery or power status: Make sure your remote or thermostat has fresh batteries. A low battery during registration or pairing can cause headaches.
If anything feels confusing, Carrier’s support site or customer service team can walk you through it step-by-step. Sometimes troubleshooting a reset or pairing issue is as simple as restarting your remote or checking for a firmware update.
Common Mistakes to Avoid When Registering Your Carrier HVAC
Believe me, a few hiccups trip up homeowners more than you’d think. Double-check these areas before hitting “submit” on your Carrier HVAC registration:
- Typos in serial or model numbers: This is the
- Wrong installation date: Always use the actual in-home install date, not just your purchase date, especially for warranty terms.
- Forgetting contractor info: Many skip this step, but it’s important for validating professional installation, which some warranties require.
- Missing the deadline: Register within Carrier’s required window (usually 60–90 days) to get the full benefits.
- Not keeping proof: Save your registration confirmation! A screenshot or email can make your life easier if you ever need warranty service or to transfer ownership.
If you realize you submitted incorrect info, don’t panic—contact Carrier’s customer support ASAP to update your registration. It’s way easier to fix now than after you need a repair call.
Comparing Carrier to Other Brands and Using Universal Remotes
You might be thinking, “Is this process unique to Carrier, or do all brands want the same stuff?” Most major HVAC brands—like Trane, Lennox, or Goodman—ask for similar information: serial numbers, model numbers, install date, and your contact info. The big differences usually come down to how easy their registration portals are and whether they offer digital or paper confirmation.
If you’re using a universal remote or third-party controller, you’ll still need to register the main HVAC system with Carrier using its factory info. Universal remotes (or smart home platforms that control multiple brands) typically have their own setup and pairing process, and you’ll register them separately. Make sure you keep both sets of documentation—they don’t always “talk” to each other when it comes to warranty or support.
Think of registering your Carrier HVAC like putting your name on your favorite gadget—and registering your universal remote or smart hub like setting up the accessories. Both matter, but for warranty claims, it always comes back to the main unit’s registration.
Wrapping Up: Registering Your Carrier HVAC Means Playing It Smart
Registering your Carrier HVAC system is one of those easy-but-important steps that pays off in peace of mind and solid support down the road. Gather your serial number, model number, installation date, and contractor info before you start. Double-check everything for typos or missing codes—especially if you’ve got a smart system that needs extra remote or sync details. Whether it’s for warranty coverage, troubleshooting, or just to make life a little simpler, registration is worth those few minutes. And remember: if you’re ever unsure where to find the right info, Carrier’s support team is just a call or click away. Here’s to years of comfortable, reliable heating and cooling—registered, protected, and ready to go.
