Imagine you just bought an Arlo security camera to keep your home safe, like a trusty guard dog that never sleeps. You’ve taken the time to register your device, but now you wonder, “How do I keep an eye on the warranty without digging through paperwork every time?” Honestly, this is a question that trips up a lot of people who aren’t tech-savvy or who simply want to avoid a scramble when something goes wrong.
Think of your Arlo warranty like an invisible safety net. You don’t notice it until you need it—say, if your camera stops working or your doorbell glitches. Tracking that warranty is kind of like checking your phone’s battery life; it’s good to know where you stand before things suddenly quit on you. So, let me explain how to keep tabs on your Arlo smart home devices’ warranty after registration, without any geeky hassle.
Why Tracking Your Arlo Device Warranty Matters
Sure, warranties might sound boring, but here’s the thing: they’re your safeguard against unexpected failures. When you buy an Arlo smart home device—like their popular security cameras, doorbells, or hubs—it usually comes with a limited warranty period. That means if something breaks or acts up, you’re entitled to repairs, replacements, or support without extra cost.
But warranties don’t last forever. They have start and end dates. Knowing exactly when yours expires can save you a lot of headaches later. Otherwise, you might assume your device is covered and be surprised when you get hit with a repair fee or have to buy a new one.
Also, warranties sometimes have fine print. For instance, you might need to register the device or keep proof of purchase handy to qualify. Tracking your warranty actively means you can quickly check whether your Arlo device is still under coverage, especially during troubleshooting or if you plan to upgrade.
How to Register Your Arlo Device for Warranty
Before you can track your warranty, you’ve got to register your Arlo device. This step isn’t just bureaucracy; it’s your ticket to official support. When you register, Arlo links the device’s unique code to your account, making it easier to confirm warranty status later.
Here’s the basic flow of how the registration works. First, you’ll need to create or log into your Arlo account on their website or app. After that, it’s a matter of adding your device by entering its serial number or scanning a QR code, which you’ll usually find on the device itself or its box.
Once added, your device appears in your Arlo dashboard. This is where you get an overview of connected products, their sync status, and important info like warranty dates. If you’re new to this, don’t worry—Arlo makes the registration process pretty straightforward, and their support guides can walk you through the syncing and pairing steps.
Where to Find Warranty Information for Your Arlo Devices
After registration, knowing where to check your warranty info is key. Arlo doesn’t exactly send you a daily email reminder, so you’ll want to bookmark the right place.
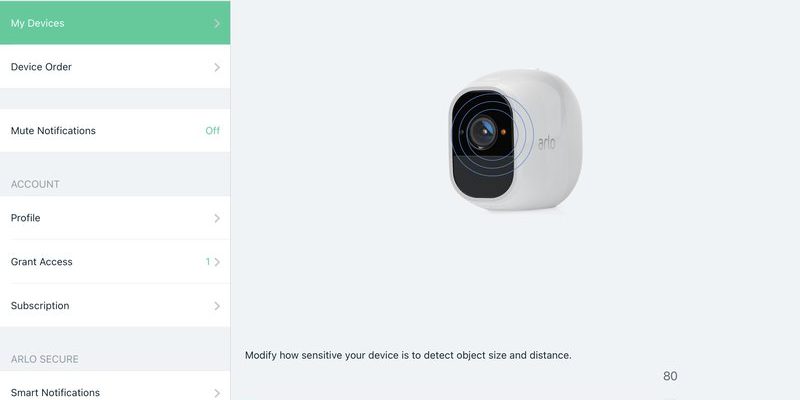
The best place to start is your Arlo online account dashboard. When you log in, look for sections labeled “My Devices” or “Device Details.” Clicking on your device should reveal important info, including purchase date, warranty coverage, and sometimes even the warranty expiration date.
If you’re using the Arlo app, the interface is similarly friendly. Under each device’s settings, you can usually find the warranty info tucked in the details or support tab. Don’t be surprised if it looks a bit like reading a battery status screen; it’s a quick snapshot of your device’s health and coverage.
Using Arlo’s Support Tools to Track Warranty Status
Here’s something a lot of folks don’t realize: Arlo offers specific support tools designed to help you monitor warranty status and troubleshoot issues. For example, their online warranty lookup tool lets you enter your device serial number and get instant info.
Another useful resource is the Arlo Support Center. This hub contains troubleshooting guides, warranty policies, and a contact option if you want a human to help you decode your warranty status or fix syncing glitches.
Imagine your warranty like a guard dog that sometimes needs you to call out its name. Using these tools is like sending a “here I am” signal to Arlo’s system, confirming your device is still protected. Plus, if something’s up with your device—say it needs a reset or battery swap—you’ll find helpful tips here, too.
Keeping Track Over Time: Tips for Managing Multiple Arlo Devices
If you’re like some folks who slowly build a whole smart home setup with multiple Arlo devices—cameras, doorbells, sensors—it can get tricky to remember which device’s warranty ends when. Let me explain an easy way to stay organized without juggling a dozen receipts.
First, consider creating a simple spreadsheet or digital note where you list each device’s model, serial number, registration date, and warranty expiry. You might think this is overkill, but honestly, having this info at your fingertips saves time when troubleshooting or reaching out to support.
Also, many third-party apps allow you to scan and store warranties and receipts. Setting calendar reminders a month before expiry can prevent surprises. Treat it like scheduling a reminder to recharge your remote’s battery—small steps that keep the whole system running smoothly.
Common Issues When Checking Warranty and How to Avoid Them
You might be wondering why sometimes your Arlo warranty doesn’t show up correctly, or the device can’t be found in your account. Here’s the thing: a few common hiccups cause this, and most are easy to fix.
One issue is registering the wrong serial number or typing it in incorrectly—these are usually printed on tiny labels, so double-checking is a must. Another problem happens when the device hasn’t fully synced or paired with your Arlo account, which can happen if the initial setup was interrupted.
If you’ve reset the device or updated firmware, your account might temporarily lose track, making warranty checks harder. Luckily, re-pairing or re-syncing your Arlo device via the app often clears this up. And if you ever feel stuck, Arlo’s support team can guide you through troubleshooting steps or even reset your registration remotely.
What to Do If Your Arlo Warranty Has Expired
No one wants to hear this, but warranties do expire. The good news is that even if your Arlo device’s warranty runs out, you’re not left completely in the cold. Here’s the thing: you can still use your device, but repairs or replacements might cost extra.
Before panicking, check if Arlo offers any extended warranty options or service plans that can cover older devices. Sometimes, buying a protection plan early on makes a big difference down the line.
Additionally, some minor troubleshooting you can do yourself—like resetting your device, replacing batteries, or re-syncing—can fix issues without a service call. Honestly, understanding how your device’s remote syncs or resets can save you money after warranty. If all else fails, evaluating whether to repair or replace comes down to how much you rely on that device in your smart home setup.
Wrapping It Up: Keeping Your Arlo Warranty Front and Center
Tracking your Arlo smart home devices warranty after registration isn’t rocket science once you know where to look and what steps to take. By registering your device properly, checking warranty info through your Arlo account, and using the handy support tools, you stay one step ahead of surprises.
Honestly, treating your warranty like a smart battery indicator—something you glance at now and then—makes all the difference. It helps you troubleshoot with confidence, swap batteries or reset devices with less stress, and know exactly when to ring up support or consider upgrades. So next time you grab your Arlo remote or check your app, you’ll feel a whole lot more in control.