You might be wondering, “What info do I actually need to get my Arlo device up and running?” It’s a fair question because the registration process isn’t always obvious if you’re new to smart home tech. This article breaks down exactly what you’ll need—from creating an account to syncing your device—so you can not only register but start enjoying the full benefits of your Arlo system.
Why Registering Your Arlo Device Matters
Before diving into the nitty-gritty, let’s talk about why the registration process is important. Imagine buying a car but never registering it with the DMV. You wouldn’t be able to drive legally, right? It’s the same with Arlo devices. Registration links your device to your Arlo account, unlocking features like remote access, cloud storage, and important security updates.
When you register your Arlo device, you:
- Gain full control via the Arlo app or website
- Enable cloud recording and notifications
- Get access to firmware updates and support
- Secure your device with personalized credentials
Without providing the right info during registration, your device might not sync properly, or you could run into trouble later with troubleshooting or warranty claims. The whole point is to make your smart home smarter, and registration is the gateway to that.
Creating an Arlo Account: The First Step
Let me explain the first required step: creating an Arlo account. Think of this as setting up your personal dashboard—kind of like your control room for all your devices. Without this, the Arlo app won’t recognize your gear or let you manage any settings.
When you register, you’ll need to share basic info like:
- Email address: This acts as your username and is where Arlo sends alerts, updates, and account recovery info.
- Password: Make it strong but memorable, since this protects your entire smart home setup.
- Full name: For personalization and help desk verification if needed.
Honestly, this part is pretty straightforward. You’ll just create your profile, verify your email through a confirmation link, and then you’re ready to add your devices. The key is to use an email you check regularly—trust me, you don’t want to miss a firmware update or security alert.
Device-Specific Information Needed for Registration
Here’s where things get a little more technical but stay with me. When registering your Arlo device, you need *device-specific info* to sync it properly with your account. This typically includes:
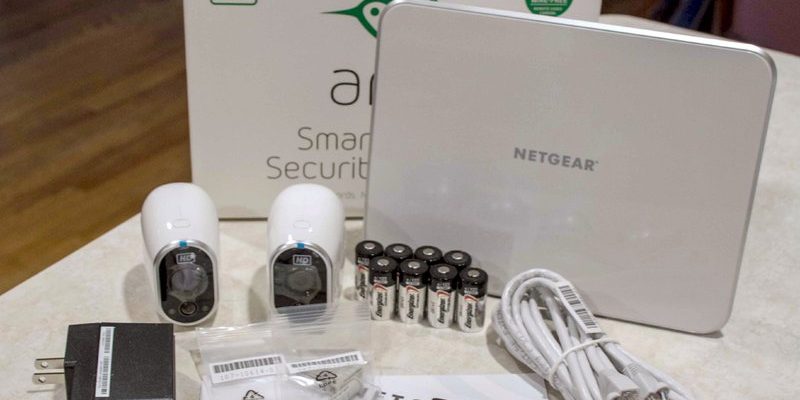
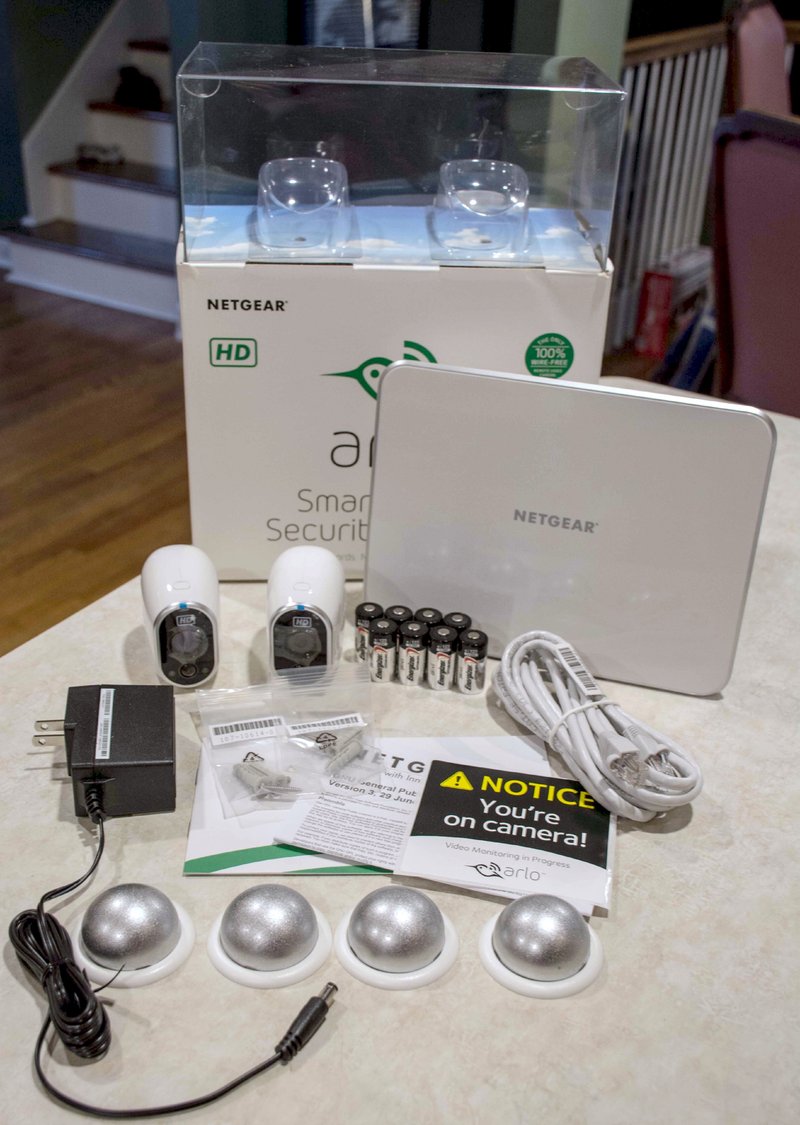
- Serial Number: Usually found on the back or bottom of the device, this unique code tells Arlo exactly which device you’re adding.
- MAC Address: This is a hardware identifier that helps the network recognize your device. You might need it if you’re troubleshooting or setting up advanced features.
- Model Number: Important if you have multiple Arlo products or need to check compatibility.
Why do you need these codes? It’s a bit like registering your car’s VIN instead of just saying “I have a car.” The system needs to know *precisely* which device it’s working with to enable syncing, security, and cloud features.
If you’re scratching your head wondering where these numbers are on your device, don’t worry. They’re usually printed on a sticker or inside the battery compartment, or you can find them in the Arlo app once the device is powered on.
Connecting Your Device to Wi-Fi: The Network Info You’ll Need
Here’s the thing: no smart home device can do much without Wi-Fi. Arlo devices rely heavily on your home network to stream video, send alerts, and communicate with the cloud. So, during registration, you’ll need to provide your Wi-Fi network name (SSID) and password.
You might be wondering why the network password is so critical. Well, it lets your Arlo device join the network securely. Without it, the registration won’t complete because the device can’t “talk” to your router.
Here’s a quick checklist of network info you should have ready:
- Wi-Fi network name (SSID)
- Wi-Fi password (WPA2/WPA3 preferred)
- Network type and frequency band (2.4 GHz is usually required; some newer Arlo devices also support 5 GHz)
If you have a separate guest network or special security setup, it’s best to register your device on the main home network for smoother operation.
Linking Your Mobile Device Through the Arlo App
The registration doesn’t just happen on Arlo’s website—it’s mostly app-driven. Here’s the thing: your smartphone or tablet acts like a remote control, setting up and managing the entire system. That means when registering, you’ll pair your mobile device with your Arlo hardware.
You’ll need to install the Arlo app and then follow the prompts to add a new device. During this process, the app will ask for the info we’ve talked about:
- Your Arlo account login
- Device serial number or QR code scan
- Wi-Fi network details
One neat trick is the QR code—some Arlo devices include one that your app can scan to automatically input the serial number and speed up registration. It’s like a shortcut key that saves typing.
Once synced, you can test video feeds, adjust battery settings, and fine-tune notifications—all from your phone.
Understanding Privacy and Security Info in Registration
Here’s something people often overlook but it’s critical: Arlo’s registration also involves agreeing to privacy terms. When you share your info, Arlo outlines how they’ll handle your data, like video recordings and personal info.
You might be wondering, “Is my video footage safe?” The short answer is yes—Arlo uses encryption and secure cloud storage to protect your data. That’s why part of the registration process includes:
- Agreeing to terms of service and privacy policy.
- Optional two-factor authentication (2FA).
- Consent to cloud storage if you want recorded video saved remotely.
Honestly, taking a minute to read the terms is worth it so you know what kind of data sharing you’re signing up for. The security features you unlock during registration are your best defense against unauthorized access.
Troubleshooting Registration Issues: What Info Might Be Missing?
Let me explain a few common hiccups users face during the registration process. If your device won’t register, it often boils down to missing or incorrect info. Here are the usual suspects:
- Incorrect serial number or MAC address entry – Double-check the numbers carefully; a single digit off can cause sync failure.
- Wrong Wi-Fi password or network frequency – Remember, many Arlo devices only connect to 2.4 GHz bands, so if you’re using 5 GHz only, registration might fail.
- Account login issues – Make sure you’re using the right email and password; resetting your password might help.
- Device battery low or unpowered – A dead battery can prevent the device from communicating at all.
If you run into these troubles, the Arlo app usually provides helpful error codes and tips to guide you through fixes, but knowing what info to double-check first speeds things up.
Final Thoughts: Making Registration Easy and Secure
So, here’s the thing—registering your Arlo smart home device isn’t just a boring formality. It’s the foundation for everything your system can do, from sending live alerts to storing footage safely. To register successfully, you’ll need basic details like your Arlo account info, device serial number, and your Wi-Fi credentials. Adding the device through the app creates a strong bridge between your hardware and your smartphone, unlocking full control.
Honestly, once you get all the required info ready, the registration process feels more like setting up a new gadget rather than wrestling with tech frustration. And if something goes wrong, having the right info on hand helps you troubleshoot efficiently.
Take your time, follow the prompts, and you’ll have your Arlo system humming in no time—keeping your home smart, secure, and easy to manage.