
Think of warranty tracking as keeping your car’s service receipts in one folder—except here, it’s all digital and tied to each device you installed. If your door sensor stops responding or your remote’s battery keeps dying unexpectedly, knowing your warranty status saves you time and headaches. Let me explain exactly how you can stay on top of your Vivint warranties without feeling overwhelmed.
Why Tracking Your Vivint Device Warranty Matters
Warranty tracking might not sound thrilling, but it’s a key piece of living comfortably with smart tech. When you register your Vivint devices, you unlock the official record of purchase and warranty dates. This record is your proof if you ever need a replacement or repair. Without it, Vivint could treat your device like a “no man’s land” and refuse coverage.
Here’s the thing — warranties don’t last forever. Some devices offer one year, others two or longer, depending on the product. If you wait too long to check, you might miss out on free repairs or replacements. Imagine putting a band-aid on a broken window—some fixes might be covered under warranty, but only if you act in time.
Plus, your warranty status can help when troubleshooting goes beyond the basics. Instead of swapping batteries or resyncing remotes endlessly, you’ll have peace of mind knowing you can reach out for official support or a device swap.
How to Register Your Vivint Devices for Warranty Tracking
Before you can track your warranty, you need to have registered the devices properly. Most Vivint devices are automatically logged when your service gets activated, but if you’re installing a new sensor or keypad, the process is pretty straightforward.
Step 1: Use the Vivint Smart Home app or website to add your new device. When you open the app, look for the “Add Device” or “Register Device” option.
Step 2: Enter your device’s unique serial number or scan its QR code. This info is usually on the back or inside the battery compartment.
Step 3: Confirm the device details. The app will prompt you to verify the product type, model, and installation date. This ensures your warranty starts counting from the right moment.
Once done, your device becomes linked to your Vivint account, and warranty tracking kicks in automatically.
Why Registering Correctly Is Crucial
If you skip or rush this step, Vivint may lack the data to honor your warranty claim later. Imagine trying to prove you bought a gadget last year when all your paperwork is missing. Registering right away is like putting a digital stamp on your ownership—a small task that pays off big down the line.
Checking Your Vivint Warranty Status Online
So, you’ve registered your devices—great. Now, how do you actually check your warranty status? This part is easier than you’d think.
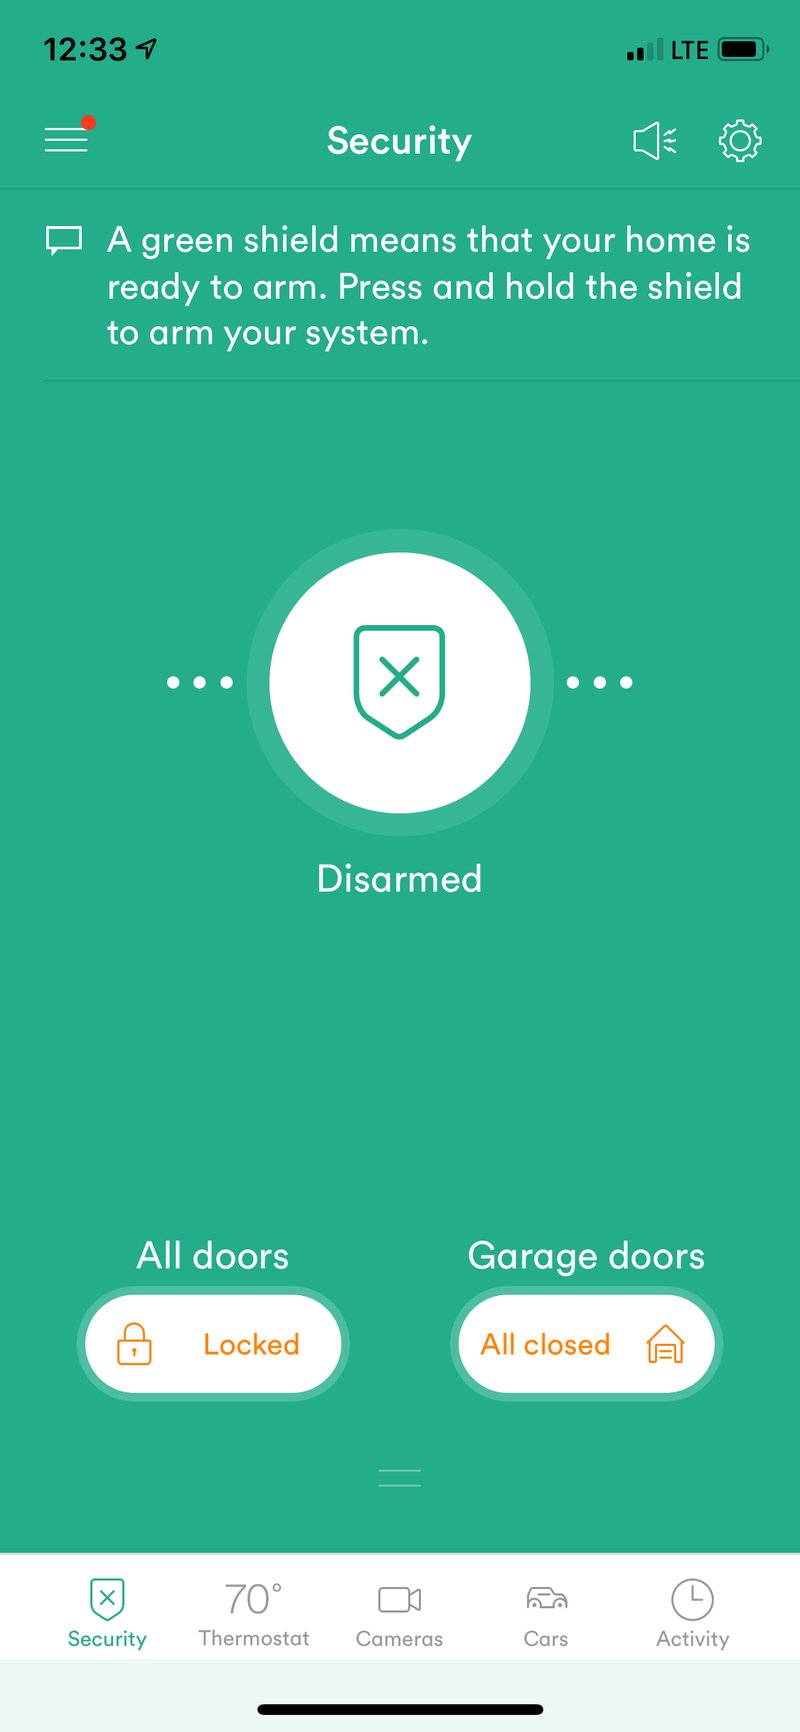
Open the Vivint Smart Home app or log in to your account on Vivint’s website. Navigate to the “My Devices” section. Here, you’ll see a list of all connected smart home components: door sensors, cameras, keypads, remotes, and more.
For each device, there should be detailed info including model number, installation date, and warranty expiration date. Some interfaces even let you download or email warranty certificates for safekeeping.
What If Your Warranty Info Isn’t Showing?
You’re staring at the screen, but no warranty info pops up. Here’s the thing: sometimes devices fail to sync properly after registration. Try refreshing your app and ensure your internet connection is stable. If that doesn’t help:
- Verify the device serial number matches what you registered.
- Double-check the registration process—did you hit “Submit” at the end?
- Contact Vivint customer support to request manual verification.
A quick phone call or chat can often clear up discrepancies and get your warranty info synced fast.
Keeping a Personal Warranty Record: Why and How
Honestly, relying solely on an app can feel a bit risky. Apps update, accounts get hacked, or info gets lost. Keeping your own records alongside Vivint’s system is a solid backup plan.
Here’s a simple way to organize your warranty info:
- Create a warranty folder: This can be digital (Google Drive, Dropbox) or physical.
- Save receipts and registration confirmations: Scan paper receipts or download PDFs from Vivint.
- Note down serial numbers and purchase dates: A simple spreadsheet works great here.
- Set reminder alerts: Use your phone calendar to remind you before warranty expiration.
By building your own “warranty database,” you keep your bases covered, even if the app glitches or you switch accounts.
What to Do When Your Vivint Warranty Expires
Tracking your warranty isn’t just about ticking boxes; it’s about readiness. When your warranty nears expiration, it’s a good time to review which devices might need extra care.
If your doorbell camera shows flickering video or your remote needs frequent battery replacements, the warranty timeline affects your options. After expiration, replacements and repairs often come out of pocket.
Here’s the thing: in some cases, Vivint offers extended warranty plans or service agreements that add extra coverage beyond the original period. You might want to explore those if you want continued peace of mind.
Alternatively, basic troubleshooting like resetting the device or swapping batteries can keep things going a bit longer without a warranty claim.
How Warranty Status Helps With Troubleshooting and Support
You might be wondering, “Can warranty tracking really save me during troubleshooting?” Absolutely.
Imagine your smart home setup has a sensor that keeps dropping offline. You try resetting and resyncing it, but no luck. If your device is still under warranty, Vivint’s support team can often replace it rather than just walking you through basic troubleshooting steps.
Strong warranty status means stronger support options. You’re no longer stuck toggling remotes or fiddling with sync codes on your own. Instead, you get prioritized help or even free equipment swaps.
This peace of mind transforms the sometimes-fiddly experience of smart home maintenance into something less stressful.
Tips for Managing Multiple Vivint Devices and Warranties
If you’ve decked out your home with several devices—cameras, sensors, remotes, keypads—warranty tracking can get tricky. Here are some practical tips to keep it manageable:
- Label devices physically: Use simple tags or stickers that you can match to your warranty records.
- Group devices by installation date: Helps predict which warranties expire soonest.
- Regularly update your app: Vivint sometimes adds features to improve warranty tracking and device management.
- Keep your account info secure: Strong passwords mean your warranty data stays safe and accessible only to you.
Think of it as a mini home inventory project—it might sound tedious, but a little organization pays off in the long run.
Tracking your Vivint smart home devices warranty isn’t just paperwork—it’s like having a safety net that catches you when your tech trips up.
Tracking your Vivint smart home devices warranty after registration isn’t complicated—it’s just a matter of keeping your digital and personal records in sync. Start by registering each device properly, explore the Vivint app or website to check warranty details, and maintain your own records as backup. This way, whether it’s a remote that needs syncing or a sensor that won’t reset, you’ll always know if official support and replacements are just a call away. It’s a small step that keeps your smart home running smoothly and your peace of mind intact.