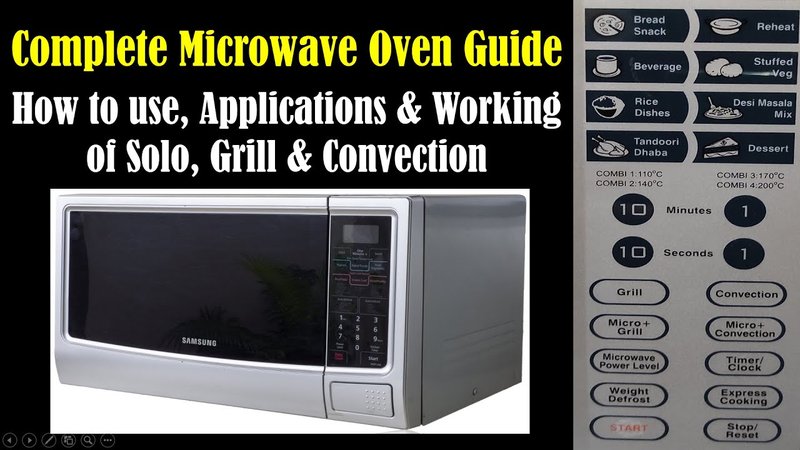
Honestly, it’s not as complicated as it seems once you break down the steps. Imagine syncing your microwave with the app like pairing your favorite Bluetooth earbuds – it just takes a few simple moves, and then you’re set. Let me explain exactly how to make this work, what you might need to watch out for, and why it’s worth doing.
Why Register Your Sharp Microwave With the Mobile App?
Registering your Sharp microwave through the app isn’t just a tech gimmick. It actually opens up a lot of useful features that make cooking easier and more precise. Think of it as moving from a basic flip phone to a smartphone – the appliance instantly becomes smarter. For example, through the app, you can track cooking history, get recipe suggestions, and even receive software updates that can improve your microwave’s performance over time.
Here’s the thing: by registering, you also get access to customer support that’s tailored to your exact model. That means quicker troubleshooting, warranty claims, and any firmware upgrades. Without registration, you’re basically flying blind, relying only on the microwave’s onboard controls and a paper manual.
Plus, syncing your Sharp microwave with the app lets you start, stop, or adjust cooking programs remotely. Picture this: coming home from work and having your dinner already heated, all set by your phone. It’s convenience that really changes how you interact with your kitchen.
Before You Begin: What You Need to Prepare
Before diving into the app and your Sharp microwave, a little prep can save you from frustration. First, have your smartphone ready and fully charged. The Sharp mobile app you’ll need is free to download on both iOS and Android. If you haven’t already, head to the App Store or Google Play and search for “Sharp Kitchen” or “Sharp Appliances.”
Your microwave should also be plugged in and powered on. Some models have a Wi-Fi or Bluetooth icon on the display – make sure that feature is enabled. If you don’t see any connectivity indication, check your microwave’s manual for details on how to activate the wireless function.
And here’s a quick tip: make sure your phone is connected to a stable Wi-Fi network during setup. This can be the same network your microwave will connect to. A weak or unstable connection can cause hiccups during registration or syncing.
Step-by-Step Guide to Register Your Sharp Microwave via Mobile App
Alright, the moment of truth. Here’s a clear, step-by-step breakdown to get your microwave registered on the Sharp app.
1. Download and Open the Sharp Mobile App
Start by opening the app you downloaded earlier. You might need to create an account or log in if you already have one. The app will guide you through basic settings and permissions, like allowing Wi-Fi access.
2. Add a New Appliance
Inside the app, look for an option like “Add Device” or “Register Appliance.” Tap it to start the pairing process. This will usually prompt the app to search for nearby Sharp microwaves broadcasting their signal.
3. Put Your Microwave in Pairing Mode
This is often the trickiest part. On your Sharp microwave, press and hold the Wi-Fi or pairing button until the indicator starts blinking. If you’re unsure which button this is, look for a symbol resembling radio waves or a tiny antenna. The blinking light means the microwave is discoverable.
4. Connect and Sync
Back on your phone, the app should now list your microwave. Select it, then enter your Wi-Fi network’s password if prompted. The app and microwave will exchange “codes” – like a secret handshake – to securely connect.
5. Confirm Registration and Finish Setup
Once synced, the app will confirm registration. You might be asked to name your microwave, like “Kitchen Microwave” or “Sharp Oven” for easy identification. After that, you’ll have full app control and access to settings, recipes, and remote operation.
Common Issues and Troubleshooting Tips
You might be wondering, “What if my microwave won’t connect?” Trust me, this happens sometimes. Here are some common problems and how to fix them.
- Microwave not entering pairing mode: Double-check the model’s manual. Some Sharp microwaves require you to hold the button for a specific number of seconds. If that doesn’t work, try unplugging the microwave for 30 seconds, then try again.
- App can’t find the microwave: Make sure your phone’s Bluetooth and Wi-Fi are turned on. Also, verify your microwave is on the same Wi-Fi network your phone is using.
- Sync failed errors: This could mean the Wi-Fi password was entered incorrectly or the network is unstable. Reset your network settings on the app and re-enter the password carefully.
- Microwave app keeps disconnecting: Check battery levels on your phone, as low battery can affect Bluetooth or Wi-Fi performance. Also, update the app and your phone’s system software for bug fixes.
Resetting and Re-Pairing Your Sharp Microwave
Sometimes, you might want to reset your microwave’s connection—maybe you changed your Wi-Fi password or switched routers. Resetting and re-pairing is basically giving the microwave a fresh start, kind of like rebooting your computer when it acts up.
Most Sharp microwaves let you reset by holding down the Wi-Fi or pairing button for 10-15 seconds until the indicator light flashes differently or the microwave beeps. After that, open the app again and repeat the registration steps.
If you run into a persistent issue, clearing the app’s cache or reinstalling it can also help. This wipes out any old data that might be causing conflicts.
Sharp Microwave App vs. Universal Remote Apps: Which to Use?
You might be tempted to use a universal remote app to control your microwave instead of Sharp’s official app. Here’s the honest truth: while universal apps can sometimes pair with various appliances, they rarely offer full functionality or reliable syncing for specific features.
The Sharp mobile app is designed specifically for your microwave model. That means better integration for cooking modes, firmware updates, and troubleshooting support. Universal apps might get you basic start/stop control but miss out on customization or remote recipe suggestions.
So, if you want the full experience with fewer headaches, sticking with Sharp’s app is the smarter move.
Final Thoughts: Is It Worth Registering Your Sharp Microwave via the Mobile App?
Honestly, yes. If you enjoy kitchen gadgets that make your life easier, registering your Sharp microwave through the official mobile app is worth the little effort it takes. It’s about more than just convenience—it’s about adding smart features that can save time, reduce cooking mistakes, and even extend your microwave’s life through updates.
Sure, the initial setup might feel a bit techy, but once you’re synced, you’ll wonder how you ever lived without the ability to control your microwave remotely or get cooking suggestions sent straight to your phone.
So next time you’re heating up a late-night snack, your microwave and phone working together will feel like a small but powerful kitchen win.
