Now, claiming a warranty for your Arlo device might sound like a bit of a headache. You might picture endless phone calls or confusing forms. But honestly, it’s not as tricky as it seems. The process is designed to get your device working again—or get you a replacement—as smoothly as possible. Let me walk you through it step by step.
Understanding Your Arlo Warranty: What’s Covered and What’s Not
Before diving into the claims process, it’s important to know what your Arlo warranty actually covers. Here’s the thing: a warranty isn’t a magic fix for every problem, but it does cover defects in materials or workmanship during the warranty period. Usually, that’s about one year from the date you bought the device, but it can vary depending on which model you have.
What’s covered? Typically, Arlo warranties cover hardware failures—like a camera that won’t power on, a remote that refuses to sync, or lens issues that can’t be fixed by resetting or updating the firmware. If the battery dies prematurely or your device just won’t pair properly after following troubleshooting steps, you might be within your rights to submit a claim.
What isn’t covered? Damage caused by accidents, improper installation, water exposure (unless specified), or unauthorized repairs usually fall outside the warranty. So, if your device got soaked in the rain or dropped from a ladder, you probably won’t get a free replacement.
It’s worth noting that software issues, like app glitches or syncing failures, often aren’t covered since these can usually be fixed by updates or resets. That’s why it’s a good idea to try some basic troubleshooting first before jumping into a warranty claim.
Step 1: Gather Your Purchase Information and Device Details
Here’s where the detective work begins, but honestly, it’s pretty straightforward. Before you even think about contacting Arlo support, make sure you have your purchase receipt handy. This is your proof that the device is still under warranty. Without it, claims get complicated fast.
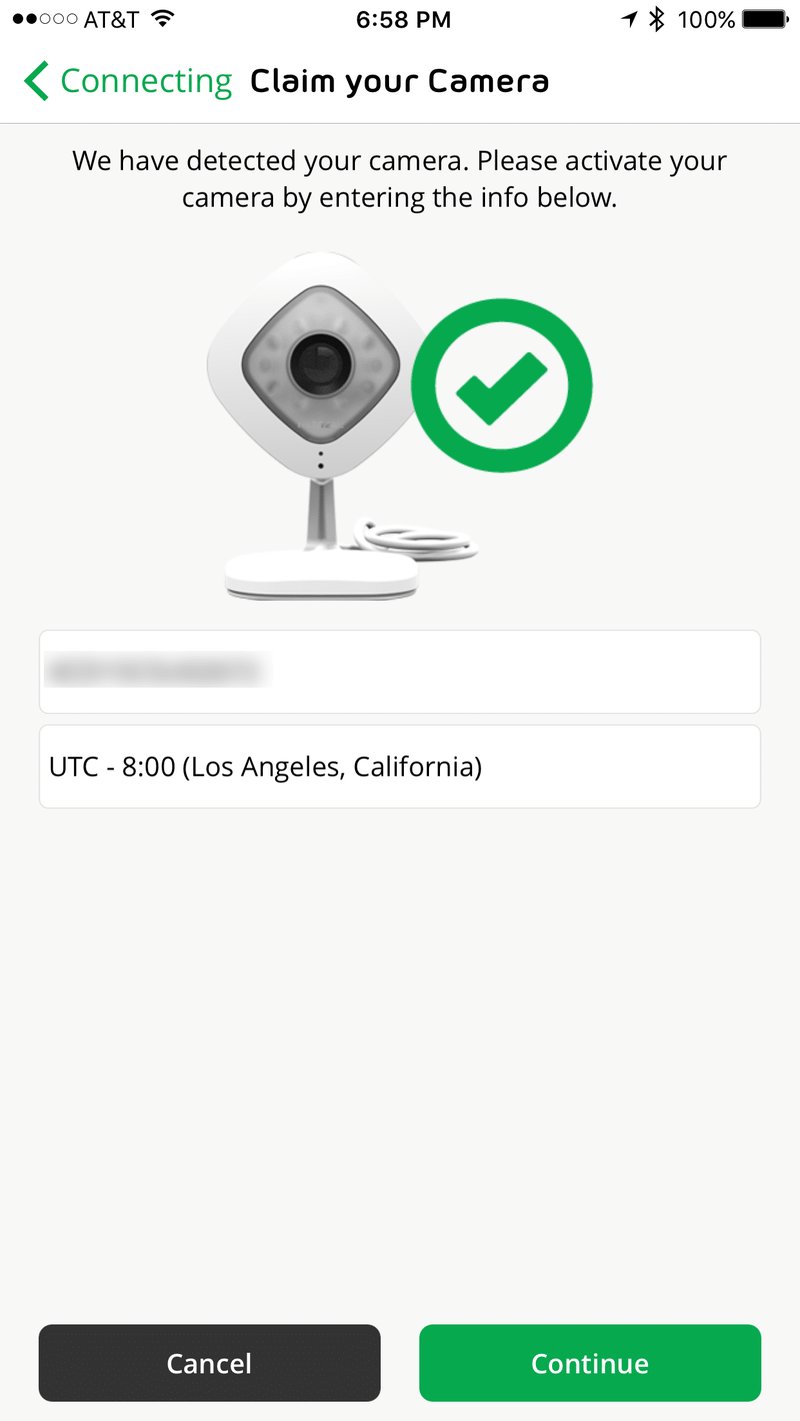
Next, jot down the model number and serial number of your Arlo device. You can usually find these on the back of the camera, inside the battery compartment, or in the device settings in the Arlo app. Having these numbers ready speeds up the process because Arlo’s support team will want to verify exactly what product you have.
If you’ve tried syncing or resetting the device, make note of those details too. Did you try removing the battery, pressing the reset button, or reinstalling the app? These little troubleshooting steps show you’ve made an effort to fix the issue yourself, which helps your claim.
Step 2: Run Through Basic Troubleshooting—Don’t Skip This
Honestly, sometimes what feels like a hardware problem is just a quick fix. Before you jump into warranty claims, it’s worth running a few tests. For example, if your wireless camera isn’t responding, have you checked the battery level? Low battery is a classic culprit and easy to overlook.
Try resetting the device by holding the reset button for about 10 seconds until the LED flashes. Then, see if it pairs again with your Arlo app. Sometimes, re-syncing a device solves the issue without needing a warranty replacement.
If your problem is a remote or accessory, check the battery inside it, and test if it’s functioning with other Arlo devices. It’s a bit like rebooting your router at home—sometimes a simple reset can save you a lot of hassle.
If these steps don’t work, then it’s time to consider filing a warranty claim.
Step 3: Contact Arlo Support to Initiate Your Warranty Claim
Here’s the thing about warranty claims—they’re only as fast as the support team you get. Arlo offers multiple ways to reach out, including phone, email, and live chat on their website. Personally, I find live chat handy because you get instant answers without waiting on hold.
When you get connected with support, have your device details, troubleshooting notes, and proof of purchase ready. They’ll likely ask some questions about the problem and what steps you’ve tried so far. This helps them decide if your issue qualifies for a warranty replacement.
If you’re lucky, they might walk you through some advanced troubleshooting right then and there. If the problem persists, your claim will be approved, and you’ll get instructions on what to do next.
What to Expect After Your Claim Is Approved
Once Arlo approves your claim, they typically send a prepaid shipping label for you to send back your faulty device. Keep your packaging handy or use a sturdy box to protect the device during shipping. Sometimes they replace the whole unit; other times, they repair it depending on the nature of the fault.
Expect the entire process—from claim approval to receiving a replacement—to take a couple of weeks. Patience is key here, though Arlo’s known for pretty responsive service.
Step 4: Shipping Your Device Back Safely
Packing your device properly is more important than you might think. You want your gadget to arrive back in one piece, so here’s a quick checklist:
- Remove any batteries or accessories and pack them separately if instructed.
- Use bubble wrap or foam padding inside the box to protect the device.
- Seal the box securely with tape to avoid any surprises in transit.
- Attach the prepaid shipping label clearly on the box.
If you skip these steps, you risk your device getting damaged in shipping, which could delay your claim or even void it. Treat your faulty tech like something fragile—because, well, it is.
Step 5: Tracking Your Warranty Replacement
Once you send your device back, Arlo usually provides tracking information. Honestly, it’s reassuring to know exactly where your package is. You can check the shipping status online anytime so you’re not left wondering.
After they receive your faulty device, the team inspects it to confirm the issue matches your claim. If everything checks out, they’ll ship out a replacement or repaired unit quickly. This is where it helps to keep your email notifications on—so you don’t miss updates.
What If Your Arlo Warranty Claim Is Denied?
Sometimes, warranty claims aren’t approved—usually because the issue isn’t covered or there’s no proof of purchase. Here’s the thing: don’t panic. You still have options.
You can ask for detailed explanation from Arlo support. Sometimes, a denied claim happens due to simple errors like a missing serial number or expired warranty period. If you believe your claim was unfairly rejected, politely ask if there’s an escalation path or additional troubleshooting you can try.
Alternatively, you might consider repair services from authorized technicians or even look into extended warranty plans for future peace of mind.
Wrapping It Up: Protecting Your Arlo Devices and Peace of Mind
Claiming a warranty for your Arlo smart home device doesn’t have to be a headache. You just need a little patience, some basic information, and a bit of troubleshooting know-how. Remember, the warranty exists to protect you, so don’t hesitate to use it if your device acts up.
The key is understanding what your warranty covers, keeping your purchase info handy, and working with Arlo’s support team in good faith. Whether it’s a stubborn camera, a remote that won’t sync, or a battery issue, the warranty claim process is there to help get you back on track—so you can stop worrying and start enjoying your smart home again.