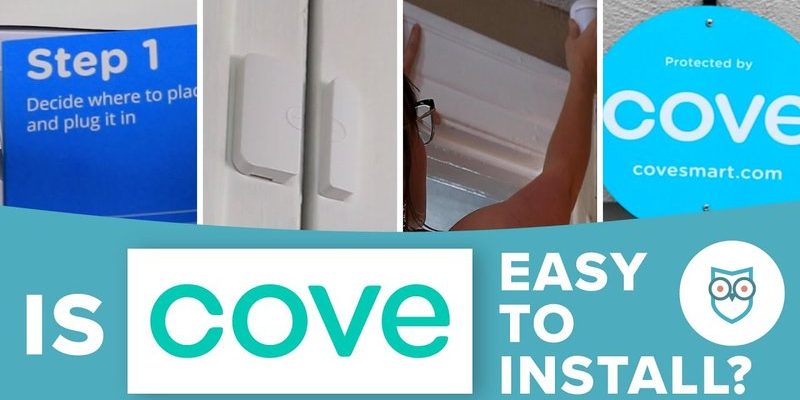
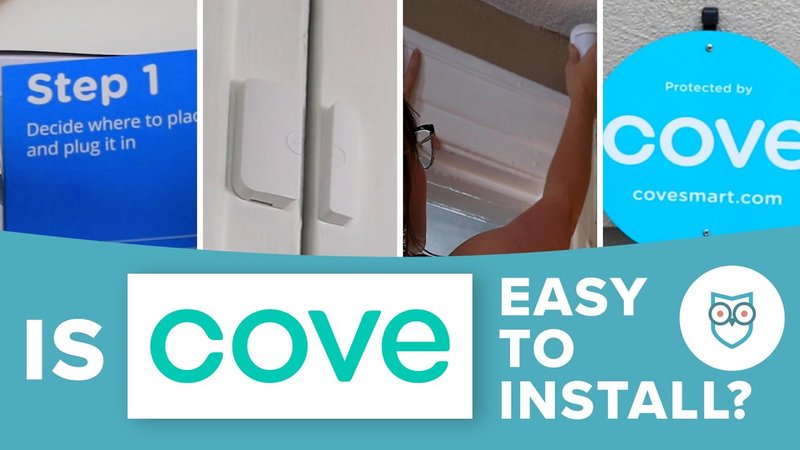
Here’s the thing: navigating product warranties can feel a lot like untangling a box of old holiday lights. It’s tricky, sometimes frustrating, but totally doable when you know where to start. Cove, as a home security brand, usually has your back when it comes to repairs, replacements, or troubleshooting—if you follow the right steps. So let’s walk through exactly how to claim a warranty for your Cove system, without getting lost in paperwork or hold music.
Understanding Cove’s Warranty Coverage
Before getting into the “how,” it helps to know exactly what Cove’s warranty covers. Think of your warranty as a promise from the brand: if something goes wrong that’s not your fault, they’ll make it right—within reason. Usually, Cove Security Systems come with a standard warranty that covers hardware failures, manufacturing problems, and defective parts. That means if your motion sensor suddenly stops syncing or your remote keypad freezes up, there’s a good chance you’re covered.
But like all good things, there are boundaries. Cove’s warranty typically *doesn’t* cover user-caused damage—like dropping your touch panel in the bathtub, DIY battery swaps gone wrong, or fiddling with the code and accidentally bricking the system. If you’re using components outside their recommended setup (say, pairing a universal remote instead of the Cove brand remote), you might run into issues. Always check their documentation for the fine print, especially if you’re thinking about resetting, syncing, or updating firmware on your own.
Here’s a tip: snap a picture of your serial number, receipt, and packaging as soon as you buy your system. Trust me, when it’s time to claim that warranty, you’ll thank yourself for keeping these bits handy. And if you ever need to troubleshoot or pair a new device, having that product info speeds things up with customer support.
When Should You Claim a Warranty?
You might be wondering: “How do I know if it’s time to make a claim?” Great question. The answer isn’t always obvious. If your system starts behaving oddly—maybe the battery drains way too fast, or your remote won’t sync no matter how many times you reset it—start by checking the basics. Is it a simple fix, like swapping the battery, re-pairing a device, or updating your code?
If those troubleshooting steps don’t get you anywhere, *that’s* when your warranty comes into play. For example, if the main hub refuses to connect after a genuine pairing attempt, or a door sensor just won’t communicate, there’s a strong chance it’s a hardware problem that qualifies for warranty service. Cove wants their systems to work smoothly, so they’ll usually help you out if it’s not a user error.
Another situation: let’s say you recently moved, and you’re trying to re-sync all your components. If a factory reset doesn’t bring them back online, or you notice something physically broken, reach out. Don’t ignore small issues, either—sometimes a tiny glitch hints at a bigger defect you’ll want covered now, not after your warranty’s up.
Gathering What You Need Before Claiming
Here’s the secret sauce to a smooth claim: *preparation.* Instead of winging it on the phone or chat, gather your details first. This makes you look like a pro and, honestly, speeds up the process a ton.
- Original Purchase Info: This is usually your receipt or proof of purchase. If you bought from Cove directly, you might find it in your email.
- Product Serial Numbers: Each main device (like control panels, remotes, sensors) has a unique number, usually printed on the back or bottom. Grab a flashlight and snap a photo if you need to.
- Problem Details: Be ready to describe what’s wrong. Did your remote refuse to pair? Does the hub keep rebooting? Try to note when the problem started and what you’ve already tried (reset, battery swap, syncing, etc.).
- Account Info: This could be your email, phone number, or address registered with Cove. Keep it handy for quicker verification.
Think of it like prepping for a doctor appointment: the more info you bring, the faster you get answers. Sometimes customer service will walk you through additional troubleshooting (resetting the system, testing codes, re-pairing devices), so keep your system accessible when you call or chat.
How To File a Cove Warranty Claim (Step by Step)
Once you’ve got your ducks in a row, it’s time to actually start the warranty claim. The process is straightforward, but let me walk you through it step-by-step—because, honestly, who wants surprises when dealing with customer support?
- Contact Support: Cove offers several ways to reach out—live chat on their website, their customer service phone number, or sometimes even email. I always recommend starting with chat; it’s fast and you get a record of the conversation.
- Describe the Problem Clearly: Remember those problem notes you took? Now’s the time to share them. Explain what’s wrong, when it started, and what you’ve already tried (like code resets, re-pair attempts, or swapping out the battery).
- Provide Proof of Purchase: Most claims require you to upload or email your receipt. Don’t skip this—it’s how they verify you’re eligible for the warranty.
- Follow Troubleshooting Steps: Sometimes, support will ask you to try a few things live—like syncing the remote again, performing a factory reset, or entering a specific pairing code. Even if you’ve already tried, humor them. It’s part of the process.
- Wait for a Resolution: If your claim is approved, Cove typically ships out a replacement part, sends instructions for repair, or arranges a return. Keep an eye on your email for follow-up steps and tracking info.
In my experience, patience pays off here. Cove’s support team is generally friendly and quick to respond, but having all your info ready means less time spent going in circles and more time getting your system fixed.
What To Expect After Submitting a Claim
You might be anxious to know—what happens after you hit “submit” on your warranty claim? Here’s what a typical timeline looks like with Cove, based on what most customers experience.
First, you’ll usually get a confirmation (by email or text) that your claim is being reviewed. If you filed during business hours, this might happen within a few hours; if it’s after-hours or a weekend, it could take a day or two. In most cases, a support rep will reach back out, either to confirm the details, ask you to troubleshoot the system one more time (such as resetting, syncing, or updating the battery), or request extra photos.
If your warranty claim is approved, Cove will explain whether they’re sending a replacement part, arranging a return, or guiding you through a repair. Most replacement parts ship within a few days, and they’ll send tracking info so you’re not left wondering. Occasionally, if your issue is super rare (think: a hub that refuses to pair even after every reset known to mankind), they might escalate to advanced technical support.
If your claim isn’t approved (maybe the hub’s out of warranty, or the problem was due to accidental damage), they’ll tell you exactly why—and sometimes offer a discount on a new part. Either way, you’ll know where you stand, and there’s no mystery about what comes next.
Common Warranty Claim Problems (and How To Dodge Them)
I wish every warranty claim went off without a hitch, but here’s the real world: sometimes bumps pop up along the way. The best way to stay sane? Know what might trip you up, and steer clear when you can.
One common snag is missing paperwork. If you tossed your receipt or can’t find your serial number, things can slow way down. Pro tip: keep digital copies of everything, or stash them in your cloud drive. Another issue: not following troubleshooting instructions. If Cove’s team asks you to try a code reset or battery swap, do it—even if it feels redundant. Their process depends on ruling out basic errors before moving forward with replacements.
Confusion can also crop up if you’re using third-party accessories. For example, pairing a universal remote or swapping in off-brand batteries can sometimes void coverage. Stick with Cove-branded parts and accessories whenever you’re within the warranty window—save the hacks for when coverage runs out.
If you run into language that’s unclear (like technical jargon about sync protocols or reset procedures), ask for clarification. Cove support is generally good at explaining things in plain language if you say, “Hey, I need that in simpler terms.”
How Cove’s Warranty Stacks Up: Alternatives and Comparisons
Here’s something you might be pondering: how does Cove’s warranty process compare to other home security brands, or to universal warranties you see at big box stores? It’s worth knowing, especially if you’re thinking long-term about your investment.
Cove’s warranty aims to be as user-friendly as their setup process. It’s generally faster and more personal than what you’ll get from generic, off-the-shelf systems. With a universal remote, for example, you might be stuck troubleshooting with a manufacturer overseas, or hunting for codes yourself. Cove’s direct support team knows their system inside and out—which is a big plus when you’re in a pinch.
That said, some competitors offer longer coverage periods—so always check how many years you’re protected. If you bought from a retailer that offers extended warranties, those sometimes kick in after Cove’s original warranty ends. Just remember, third-party coverage may involve extra hoops and less specialized troubleshooting.
If you’re a DIYer and you like tinkering (resetting, pairing, trying code hacks), keep in mind that Cove expects their components to be used as intended. Straying too far from their instructions can complicate claims. When in doubt, it’s always better to call support before experimenting.
Tips for Keeping Your Warranty Safe
Honestly, the easiest way to avoid warranty headaches is to keep your paperwork organized and your system well maintained. Let me break it down in a real-world way.
- Document Everything: Take photos of receipts, serial numbers, and your full setup. Store these digitally so you never lose them.
- Stick with Cove Gear: If you need to replace a remote or battery, get it from Cove or an approved partner during your warranty period. Mixing and matching might get creative, but it can void coverage if things go wrong.
- Follow Setup Guides: Don’t skip steps—especially during pairing, syncing, or resetting. The troubleshooting path you follow can make or break your claim’s approval.
- Keep Your Account Updated: If you move or change contact info, update it with Cove. This helps support reach you quickly if there’s a snag with your claim or a need for two-factor account verification.
A bit of preparation now can save a mountain of hassle later. Nobody plans to have problems with their security system, but being ready means you won’t have to sweat if something goes wrong.
Closing Thoughts: The Smoothest Path to Warranty Success
Claiming a warranty with Cove Security Systems might feel daunting at first, but it’s a lot less stressful when you break it down step by step. Think of your warranty as the seat belt for your home security setup: you hope you’ll never need it, but you definitely want to know how it works before trouble strikes.
Stay organized, follow their process, and don’t be afraid to ask questions—no one expects you to be a tech wizard. With the right info in hand, Cove’s support team usually makes things right, whether you need a fresh remote, a battery swap, or a whole new hub. And hey, even if tech goes haywire, you’ve got backup—so your home stays protected, and your peace of mind gets a refresh, too.