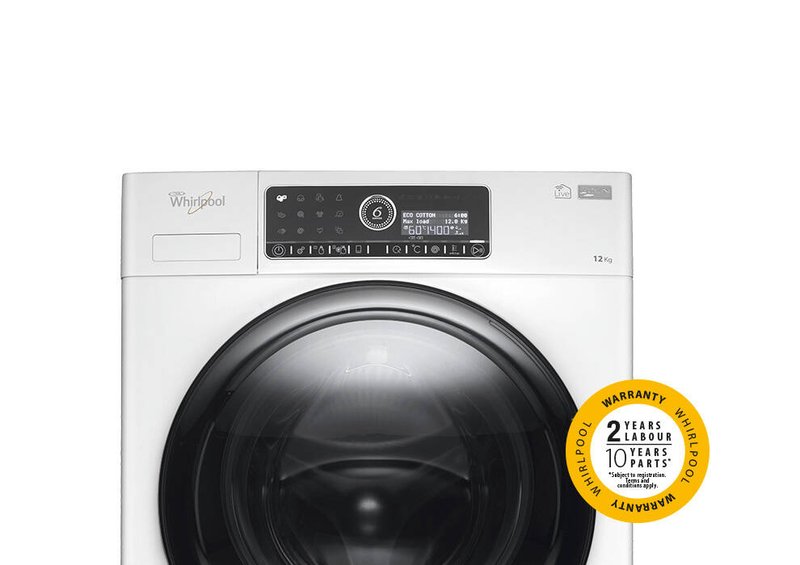
Why bother registering in the first place? Imagine your washing machine suddenly stops mid-cycle or your dryer won’t heat up. Having that warranty ready and waiting can be a lifesaver for repairs or replacements. Registering online is the fastest and easiest way to make sure you’re covered, without piles of paperwork. So, let me walk you through this step-by-step journey to easily register your Whirlpool laundry appliance.
Why Register Your Whirlpool Laundry Appliance Online?
You might be wondering why Whirlpool asks you to register your appliance after buying it. The main reason is simple: it helps protect your investment. When you register, you officially enroll your appliance under Whirlpool’s warranty program. This means if any covered parts or repairs go sideways, you won’t be stuck empty-handed.
Plus, registration comes with some handy perks. Whirlpool often sends out updates about product recalls, service tips, or new features that might enhance your appliance’s performance. Think of it like subscribing to a newsletter that actually saves you money and hassle.
Another big plus: it speeds up any future customer service interactions. When you call for help, the rep can pull your appliance’s exact details instantly, including model number, purchase date, and warranty status. This means less waiting on hold, fewer back-and-forth emails, and quicker solutions to any washer or dryer drama.
What You’ll Need Before Registering Your Whirlpool Appliance
Before jumping online, gather some info first—kind of like prepping ingredients before cooking a new recipe. Here’s what you’ll want handy to make the process slick:
- Model Number: This is usually found on a sticker inside the door or on the back of your washer or dryer. It’s basically the appliance’s fingerprint.
- Serial Number: Also on that same sticker, this code is unique to your specific machine.
- Purchase Date: Keep your receipt or note when you bought the appliance. Some sites ask for this to verify the warranty timeline.
- Proof of Purchase: Digital or physical receipt. You might need to upload this during registration.
- Personal Information: Your name, email, address, and phone number for contact purposes.
Having these ready means the online form will fly by smoothly without that annoying “Oops, where did I put that number?” moment. It’s also a good idea to have your computer or smartphone handy, with a stable internet connection.
Step-by-Step Guide: How to Register Your Whirlpool Laundry Appliance Online
Alright, let’s get into the nuts and bolts of registering your appliance. Honestly, the online process is designed to be user-friendly if you just follow along step-by-step.
Step 1: Visit the Official Whirlpool Website
Start by navigating to the Whirlpool support page dedicated to product registration. The URL is usually something like whirlpool.com/product-registration. Bookmark it for later, too, since you might want to access warranty info down the line.
Step 2: Choose Your Appliance Category
Once there, pick “Laundry Appliances” or specifically “Washers & Dryers” if options appear. This narrows down the form and helps the system find the right warranty area for your product.
Step 3: Enter Your Product Details
Here’s where you’ll input those model and serial numbers you gathered earlier. These codes sync your appliance to its unique warranty profile. Take your time typing them in exactly—one wrong digit can cause frustration or delays.
Step 4: Add Purchase Information
Fill in your purchase date and upload your proof of purchase if prompted. This confirms the warranty start date and avoids disputes in the future. If you bought the appliance from a store with an online order, a screenshot or PDF receipt usually works.
Step 5: Fill in Your Contact Info
Enter your name, phone number, email address, and mailing address. Whirlpool uses this to contact you about warranty updates, promotions, or service notices. Make sure your email is typed correctly because some companies send a confirmation link you need to click.
Step 6: Review and Submit
Double-check all your entered details. Mistakes here can complicate warranty claims later. When you’re sure, hit the “Submit” button. You should get a confirmation screen or email acknowledging your registration.
Common Problems When Registering and How to Fix Them
Honestly, even simple online forms can trip us up. You might run into minor headaches like:
- Model or Serial Number Not Accepted: This usually means a typo. Double-check those numbers on the sticker, paying attention to zeros (0) versus the letter “O.”
- Website Errors or Timeout: Sometimes, too many users or a weak connection leads to timeouts. Try refreshing, switching browsers, or registering during off-peak hours.
- Missing Proof of Purchase: No receipt at hand? Check your email if you bought online, or call the retailer to get a copy. Whirlpool generally requires this for warranty validation.
- Email Confirmation Didn’t Arrive: Check your spam folder or junk mail. If still missing, resend or contact Whirlpool’s support.
Taking a deep breath and tackling these calmly usually sorts things out quickly. Plus, Whirlpool’s customer service is there to help if you get stuck.
How Registration Impacts Warranty Repairs and Troubleshooting
Here’s the real payoff of registering: when your appliance acts up, repairs and troubleshooting become smoother. For example, say your dryer isn’t heating. If you’ve registered online, Whirlpool’s warranty team instantly knows your appliance’s history and warranty status.
This speeds up approval for repairs or replacement parts and cuts down on back-and-forth verification. Plus, Whirlpool sometimes provides troubleshooting tips or diagnostic codes linked to your specific model, helping you fix small issues yourself or prepare better for a technician’s visit.
Without registration, you might spend more time proving purchase dates or eligibility, which is frustrating when you just want to get your laundry done.
Is Online Registration the Only Way? Alternatives to Consider
You might be thinking, “Is online the only road to warranty registration?” Not quite. While online registration is fastest and most reliable, Whirlpool also offers:
- Phone Registration: Call Whirlpool’s customer service and provide your appliance details. It’s more personal but can take longer.
- Mail-in Forms: Some retailers include warranty cards or forms you can fill out and mail back. This feels old-school but still works.
However, these alternatives usually mean slower processing and risk of lost paperwork. Online registration is like the digital turbo boost for your warranty protection.
Keeping Your Whirlpool Laundry Appliance Warranty Details Safe and Accessible
Once you register, it’s easy to forget about it. But honestly, keeping your warranty details handy can save headaches down the line. Here’s a quick checklist to stay on top:
- Save confirmation emails or screenshots of your registration.
- Keep your purchase receipt in a safe, easy-to-find place.
- Create a folder on your phone or computer labeled “Appliance Warranties” so you can open it quickly.
- Note down or bookmark Whirlpool support contacts for repairs or questions.
Think of it like your appliance’s medical records—better to have them ready before you ever need them.
Wrapping It Up
Registering your Whirlpool laundry appliance online might seem like a small chore, but it pays off big time when your washer or dryer needs help. It’s not about getting bogged down in paperwork or website confusion. Instead, it’s a quick way to protect your investment and get faster, smoother service if problems arise.
So next time you pull out that shiny new Whirlpool machine from the box, take 10 minutes to register it. Honestly, it’s like buying peace of mind that keeps your laundry routine humming smoothly for years to come. And when you do, you’ve got one fewer thing to worry about—because who wants laundry drama on top of everything else?
