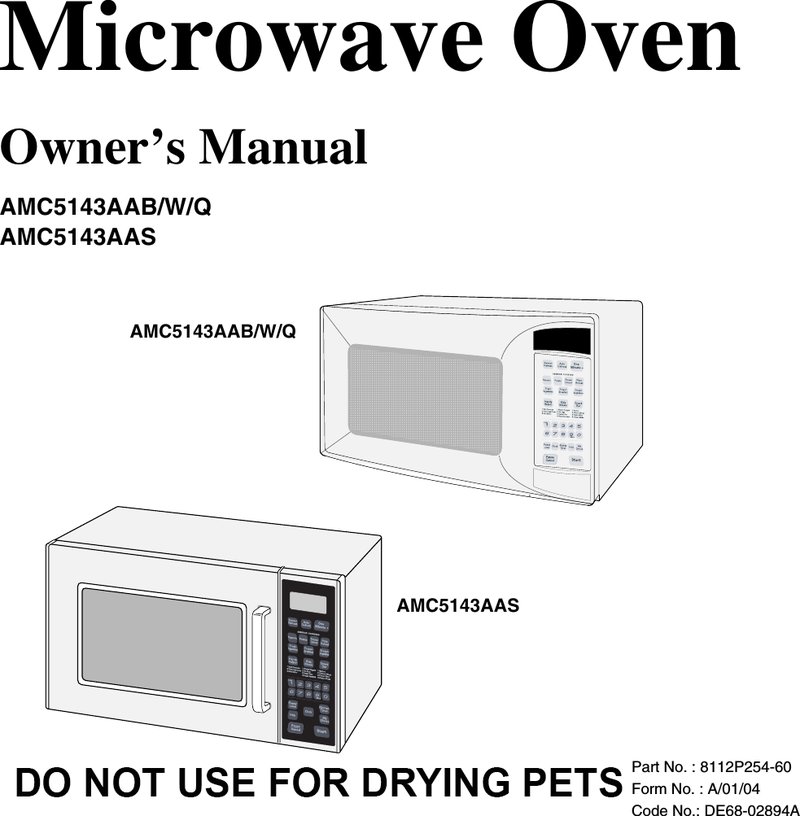
Imagine you just bought a new GE microwave—sleek, ready to zap your leftovers, and packed with modern features. Before you can fully enjoy it, there’s one little step that often flies under the radar: registering the microwave. Think of it like introducing your microwave to the GE family. This registration process is more than just paperwork—it’s like handing over your microwave’s ID card so GE can keep you in the loop on updates, warranties, or even recalls.
You might be wondering, “What info do I actually need to register my GE microwave?” It’s not complicated, but having the right details on hand helps smooth the process along. Think of it as syncing your phone with an app; everything works better when the info matches up perfectly. Let me explain what you’ll need and why it matters, whether you’re doing it online or by phone.
Why Register Your GE Microwave in the First Place?
Here’s the thing: registering your microwave isn’t just for GE’s benefit. It’s a little like subscribing to a service that keeps your kitchen safe and up to date. When you register, GE knows exactly what model you have and can quickly alert you to any safety recalls or service tips. You might think, “I don’t need this now,” but imagine if a defect was discovered later—being registered means you get the news fast.
Plus, registration often activates your warranty. Without that step, some warranty claims might get stuck in limbo or delayed. It’s kind of like buying insurance—you hope you never need it, but it’s good to have that safety net fully active. So, getting this done early helps avoid headaches later.
Lastly, registering means quicker customer support. When you call with a problem, GE already has your microwave’s details ready to go, so troubleshooting and solutions can be faster and more personalized. In the end, it’s a small task with big benefits.
The Basic Info You’ll Need to Register Your GE Microwave
Okay, so what exactly do you need? Honestly, it’s mostly straightforward stuff you can find on your microwave or receipt. Here’s the key info you should have ready:
- Model Number: This is like your microwave’s fingerprint. It’s usually on a sticker inside the microwave door or on the back. Without this, GE won’t know which exact microwave you have.
- Serial Number: This unique number helps identify your specific unit. It’s often next to the model number. Think of it as the microwave’s personal ID.
- Date of Purchase: This helps determine warranty coverage. Be sure to keep your receipt handy.
- Place of Purchase: Whether it’s a big-box store, an online retailer, or a local shop, GE likes to know where you bought it.
- Your Contact Information: Name, address, phone number, and email. This ensures GE can reach you if needed.
Having all this info at your fingertips makes the registration process smooth, whether you’re submitting online or over the phone.
How to Find Your GE Microwave’s Model and Serial Numbers
Honestly, finding these numbers can feel like a mini scavenger hunt the first time around. But once you know where to look, it’s a breeze. Most GE microwaves have a label showing both the model and serial numbers in one place. Here’s how to spot it:
- Inside the Microwave Door: Open the microwave door and check along the frame or edge. Often, the sticker is right there, easy to spot.
- Back or Side of the Unit: If you can safely pull the microwave out a bit, look on the back or side panels. The sticker can be tucked here if not visible from the front.
- User Manual: Sometimes, the manual includes these details on a quick reference page.
The model number usually starts with letters followed by numbers (like JES2051SNSS), while the serial number is a longer mix of letters and digits. When you find them, write them down or take a clear photo for your records.
Registering Your Microwave Online: Step-by-Step
Most people find it easiest to register online since it’s quick and you get instant confirmation. Here’s the general flow you’ll go through on the GE Appliances website:
- Create or Log In to Your Account: If you don’t have a GE account, setting one up is painless and useful for future services.
- Enter Product Details: Input the model number, serial number, and purchase info exactly as they appear. Small typos can cause issues.
- Provide Your Contact Info: Name, address, phone, and email. Double-check your email for accuracy to get updates.
- Review and Submit: Before clicking submit, glance over everything to make sure it’s correct. Then, hit “Register” and you’re done!
After submitting, you’ll usually get an email confirming your registration. Keep this for your records—it’s proof that you’re covered in case you need warranty service.
What to Do if You Lose Your Receipt or Info
Here’s a common snag: what if you can’t find your purchase receipt or some info is missing? Don’t panic. GE understands this happens.
First, you can often find the purchase date by checking your credit card or bank statement if you remember roughly when and where you bought the microwave. For the model and serial numbers, those stickers on the microwave itself are your best bet.
If paperwork is missing, registering might still be possible, but warranty coverage could be affected. In those cases, GE customer support can sometimes help verify purchase details if you provide payment info or store info.
Pro tip: For future purchases, snap a quick photo of the receipt or save digital copies. Trust me, it’s worth the few seconds.
How Registration Helps With Troubleshooting and Support
When your microwave acts up—maybe it won’t heat or the display is flickering—registration comes in handy. Think of it as your microwave’s medical history available to the GE doctor.
When you contact GE support, they’ll ask for your model and serial numbers to pull up your microwave’s profile. If you’re registered, the system automatically matches all your info. This helps the support rep quickly understand the exact features and common issues for your specific model.
Also, registered microwaves sometimes get priority treatment or special offers during repairs or replacements. It’s like having VIP access instead of waiting in the back of the line.
Alternatives to Direct Registration: Universal and Third-Party Options
You might hear about universal appliance registration services or third-party warranty providers. While these exist, here’s the thing: nothing beats registering directly with GE for your GE microwave. It’s the most reliable way to ensure your info is correctly matched to your appliance.
Universal or third-party registrations might add layers of confusion or delay in case of issues. So, unless you get the microwave through a special warranty plan, sticking with GE’s official registration is the safest bet.
That said, if you have multiple appliances from various brands, some people use universal services to keep all info in one place. Just remember, it doesn’t replace the official brand registration.
Wrapping It Up: Make Registering Your GE Microwave a Priority
Registering your GE microwave might feel like a small chore, but it’s honestly one of the smartest moves you can make after setting up a new kitchen gadget. Having your model number, serial number, purchase date, and contact info on hand makes registration a breeze. This step not only activates your warranty but also keeps you connected for recalls, updates, and faster support.
So next time you unpack that microwave, don’t tuck the paperwork away without registering. It’s a bit like planting a seed for future peace of mind—when you really need help, it’ll be worth it.
